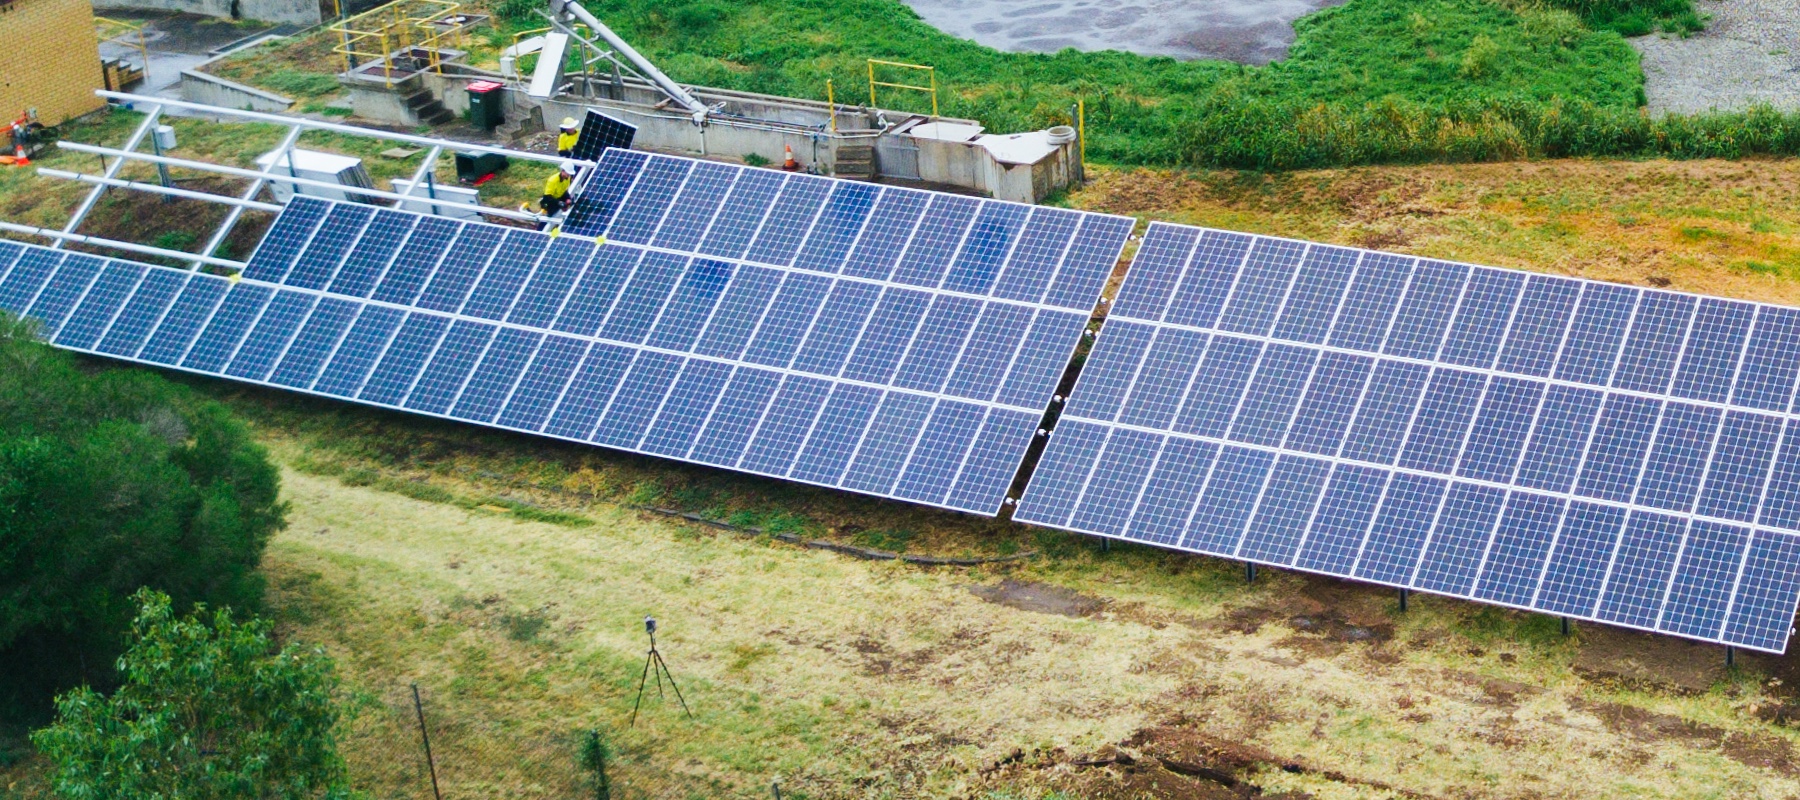

SOLAR PV INSTALLATION TOOL
Designed to assist with installation of solar PV Modules. The spacer will make for a rapid installation and will maintain uniform with the array to give your job a professional finish. Solar spacer allows you to achieve a consistent pattern when fixing modules and help to ensure that all panels are laid equidistant from each other (providing a symmetrical finish - as you or your customer would expect).
The spacer helps eliminate human error and reworking to get straight.

EASY INSTALLATION
of solar modules

SAVE TIME
with a quick
and professional finish

PERFECT ALIGNMENT
between solar panels
READY TO START SAVING TIME AND MONEY?
Australian Distributors
HOW TO USE SOLAR SPACERS?
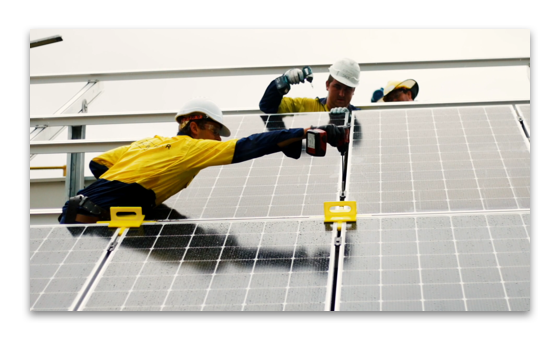

STEP 1
Install your first and last panel in the desired location on the row and set string line to assist with keeping the first row straight.

STEP 2
Choose your end to lead from and commence on installing the panels. The spacer can be used to line up the bottom edge of the panels. (We recommend for rows >12 Panels that you look to install a maximum of 6 panels ahead to avoid expansion.)

STEP 3
Once you have completed the first row and are happy that it is straight, this is when the Solar Spacer really comes into play. After your first panel is laid, put a spacer on each corner of the panels (ensuring they are flush)

STEP 4
Place the next panel against the spacers of your rst panel. Then place additional spacers against the remaining corners of the following 2-3 panels.

STEP 5
Repeat this process, expanding the array from top to bottom row outwards using the spacers at the edges of each panel to keep a consistent distance between.

STEP 6
Remove the spacers (using the handle) as you move from panel to panel.
SIZES
Solar spacers will come in 2 sizes:
COMPATIBILITY
Schletter, Radiant, Sunlock.... (SOLAR SPACER will work with most framing systems and compatibility can be determined by the mid clamp width – 20-21mm)
HOW MANY SOLAR SPACERS DO I REQUIRE?
You need a minimum of 2 Solar Spacers per crew installing the panels. We recommend that having 4 per crew will speed up the process that bit extra. (Spacers come in packs of 2)